
Neutral-zone play and the breakout
The 15 metres between the blue lines where most hockey possession is decided — how a breakout moves the puck out of the defensive zone, and why zone entries are so contested.
Overview
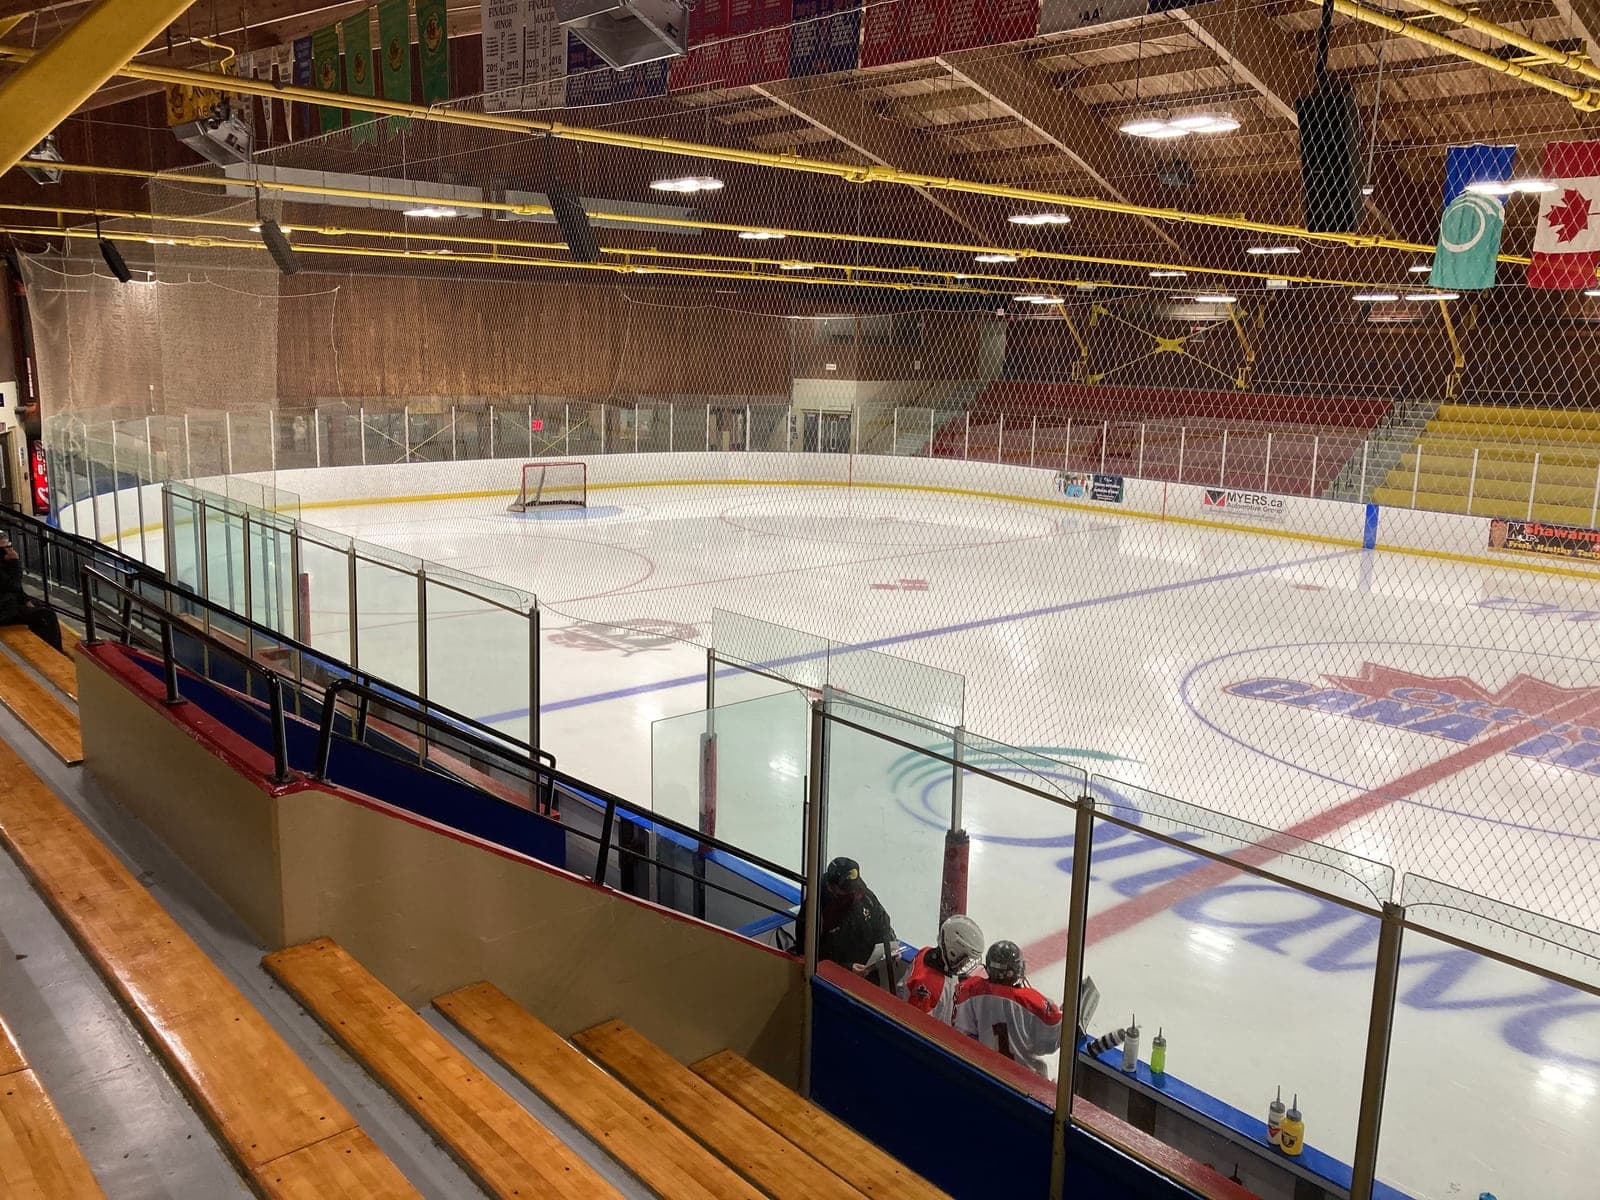
The neutral zone is the 15.00 m of ice between the two blue lines. Almost nothing is scored there, and almost everything is decided there: it is where a team either carries the puck into the attacking zone with control or gives it away trying.
Two connected problems live here. Getting the puck out of your own zone is the breakout; getting it into theirs is the zone entry.
The breakout
A breakout starts behind the defending team's own net. A defenceman retrieves the puck, and the forwards position themselves at known spots — typically wingers on the boards and the centre supporting through the middle — so the first pass has a target.
The reason breakouts are rehearsed is that the alternative is a blind clearance that gives the puck straight back. A clean breakout turns defending into attacking in one pass; a failed one concedes possession in the worst place on the ice.
Carrying in versus dumping in
A controlled zone entry — carrying or passing the puck across the blue line with possession — keeps the attack organised. But off-side makes it risky: the puck must precede the attackers, so a mistimed entry kills the attack outright.
A dump-in surrenders possession deliberately, sending the puck deep for the forecheck to chase. It guarantees the puck gets in and guarantees you have to win it back. Which is better depends on how well the team forechecks and how well the opposition defends its own zone.
Why the neutral zone is where systems clash
A forechecking system and a breakout system meet in the neutral zone, and whichever is better organised usually wins the exchange. A trap works precisely by turning the neutral zone into congested space that a carrying team cannot pass through.
That is why teams facing a trap so often dump the puck in: if you cannot carry it through the neutral zone, you can at least skip over it.
Key points
- The neutral zone is 15.00 m wide and is where most possession changes hands.
- A breakout turns defending into attacking in one clean pass.
- Controlled zone entries keep an attack organised but risk off-side.
- A dump-in trades certain entry for lost possession.
- Forechecking and breakout systems meet, and clash, in the neutral zone.
Where it’s used
Sports that use neutral-zone play and the breakout:
Related tactics
The forecheck
How a hockey team attacks in the opposition's defensive zone without the puck — the 1-2-2, 2-1-2 and trap approaches, and what each one risks to win the puck back.
The power play
What a team does with a one-player advantage — the umbrella and 1-3-1 setups, why the extra player creates a passing triangle a penalty kill cannot cover, and what the clock is worth.
The penalty kill
How a team defends a player short — the box and diamond formations, why killers ice the puck legally, and what a short-handed team is actually trying to protect.
Sources
The rules, dimensions and specifications on this page were read from these documents.
- IIHF Official Rule Book — International Ice Hockey Federation, 2026/27, Rule 1 — Rink; Off-side (read 2026-09-12)
How it connects
The meaning-bearing relationships that place Neutral-zone play and the breakout in the wider knowledge graph — each one with the reason it exists.
Requires
You need this to make sense of the other one.
Alternative to
Comparable enough that people choose between them.
Explore across the knowledge base
Follow the threads that connect Neutral-zone play and the breakout to the rest of SocialSportHub.
Rules
- Off-side in ice hockeyThe rule that stops attackers waiting in the attacking zone — where exactly the blue line is crossed, why skates and not sticks decide it, and what a delayed off-side means.
- Out of boundsThe rule that a ball or player leaving the marked playing area is out of play and possession is decided at the boundary.
- Out-of-court play in padelThe rule that lets a padel player leave the court to keep a rally alive — when it is authorised, what the court must provide for it, and why it depends on the safety area.
- How a point is lost in padelThe actions that end a padel rally — the second bounce, touching the net, direct contact with the opponent's enclosure, and the neutral-zone exception on the court doors.
- IcingThe rule that stops a team simply firing the puck the length of the ice — what triggers icing, what nullifies it, the goaltender exception, and the line-change penalty that follows.
Equipment
Techniques
- StickhandlingHow a hockey player carries and protects the puck at speed — why the hands work independently of the feet, the role of soft hands, and how body position beats stick skill.
- Face-offsHow every hockey stoppage restarts — the nine face-off locations, why the location is itself a sanction, and the techniques centres use to win possession.
How this page is maintained
- Content type
- Tactic
- Provenance
- Tier A — evergreen educational
- Verified external sources
- 0
- Content updated
- 2026-09-01
Evergreen, first-party explanation — it makes no claim that needs an external source. How we handle sources and reviews.